Tenant Admin
Onboarding your tenant
Apply, get approved, and reach your portal dashboard.
Cyfher is a vetted platform: every tenant is reviewed by the platform team before they can issue or verify credentials. This guide walks a new organization through that flow end to end.
What you’ll need before you start
- A work email at the domain you plan to issue credentials from. Personal addresses (gmail, etc.) slow the review down considerably.
- Your legal entity name, and the country whose jurisdiction you operate in — you pick this from a type-ahead list of country names, so there is no code to look up.
- Your organization’s website domain (domain only — no
https://and no path). - A brief description of what credentials you plan to issue. This is a required field on the form, not just background for the reviewer.
- Optionally, a public registration or accreditation ID — a company number, charity number, or accreditation-body ID. Anything that lets the review team confirm you in a public registry speeds things up.
You do not need to prepare a URL slug. Cyfher derives one from your legal entity name as you type, shows you a live availability check, and lets you edit it at the account step. The slug becomes part of your tenant’s public endpoints — /.well-known/openid-credential-issuer/t/<slug> and similar.
The application flow
Apply on the registration page. The form asks for:
- Your organization. Legal entity name, country, website domain, an optional public registration / accreditation ID, and a description of the credentials you’ll issue. A slug is derived from the legal entity name as you type, with its availability shown inline.
- Your account. Display name, URL slug (pre-filled from step 1, editable, checked for availability), your email, and a password.
Submit the application and you will land on your application status page — this is the only page available until your tenant is approved.
Your metered agreement (rates, included units, and any caps) is set at approval based on your stated use case and scale. Standard-pricing applications are activated directly at approval on our published rate card. Bespoke pricing is offered as a quote you accept in the portal — once you accept it, those terms become your agreement. You can discuss the right fit during the review; changes after approval go through your account contact. See Billing and usage for how the agreement works day to day.
Application states
Your application moves through these states. The status page reflects the current state and what (if anything) you need to do next.
- Unverified. You need to confirm the email address on your account. A verification link is sent automatically; click it to advance.
- Pending. Email confirmed, application under review. Typical turnaround is 2 business days. Your account is not billed in this state.
- Info requested. The reviewer has a follow-up question. The status page shows the question and a reply form; send a response from there.
- Rejected. With a reason. You can start a new application from the same page if you believe circumstances have changed.
- Active. You’re in. The status page now redirects to your dashboard on next sign-in.
Pilots and billing
Most engagements begin with a guided pilot — an optional, time-limited evaluation period agreed at approval (directly for standard pricing, or from the quote you accept). If your approval doesn’t include a pilot, billing starts from day one. During a pilot:
- You have access to the full product under your agreement’s real rates and included units.
- No invoice is issued and no charge applies.
- Usage limits still apply normally so you can test against realistic constraints.
Billing starts automatically when the pilot ends. Invoices are issued by email (PDF attachment) at the end of each billing period. Payment is by EFT (bank transfer); use the invoice number as your payment reference. Net-30 terms apply by default. You can configure the billing email and address from Invoices → Billing Contact in the portal.
Signing in once approved
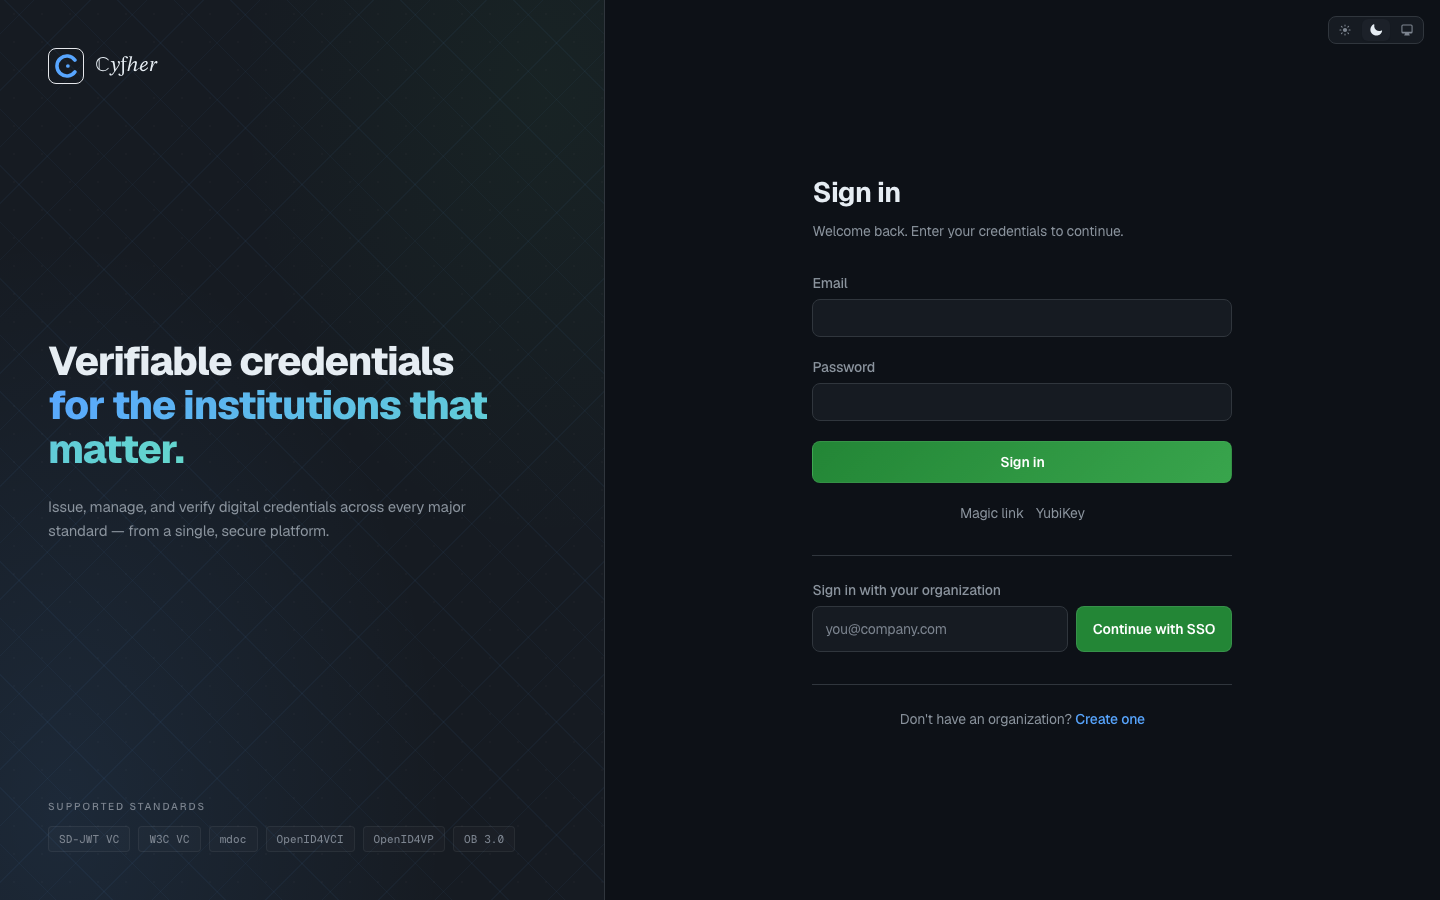
Sign in on the login page. Cyfher supports four login methods:
- Email + password (with optional TOTP for second factor).
- Magic link to your registered email.
- Passkey / YubiKey (passwordless WebAuthn) — set this up from Settings → Security once you’re in.
- Enterprise SSO — enter your work email under Continue with SSO and Cyfher routes you to your organization’s identity provider (OIDC or SAML). Configure this from Single Sign-On in the portal sidebar.
Passkey sign-in skips the second factor — the key itself is strong authentication.
What’s next
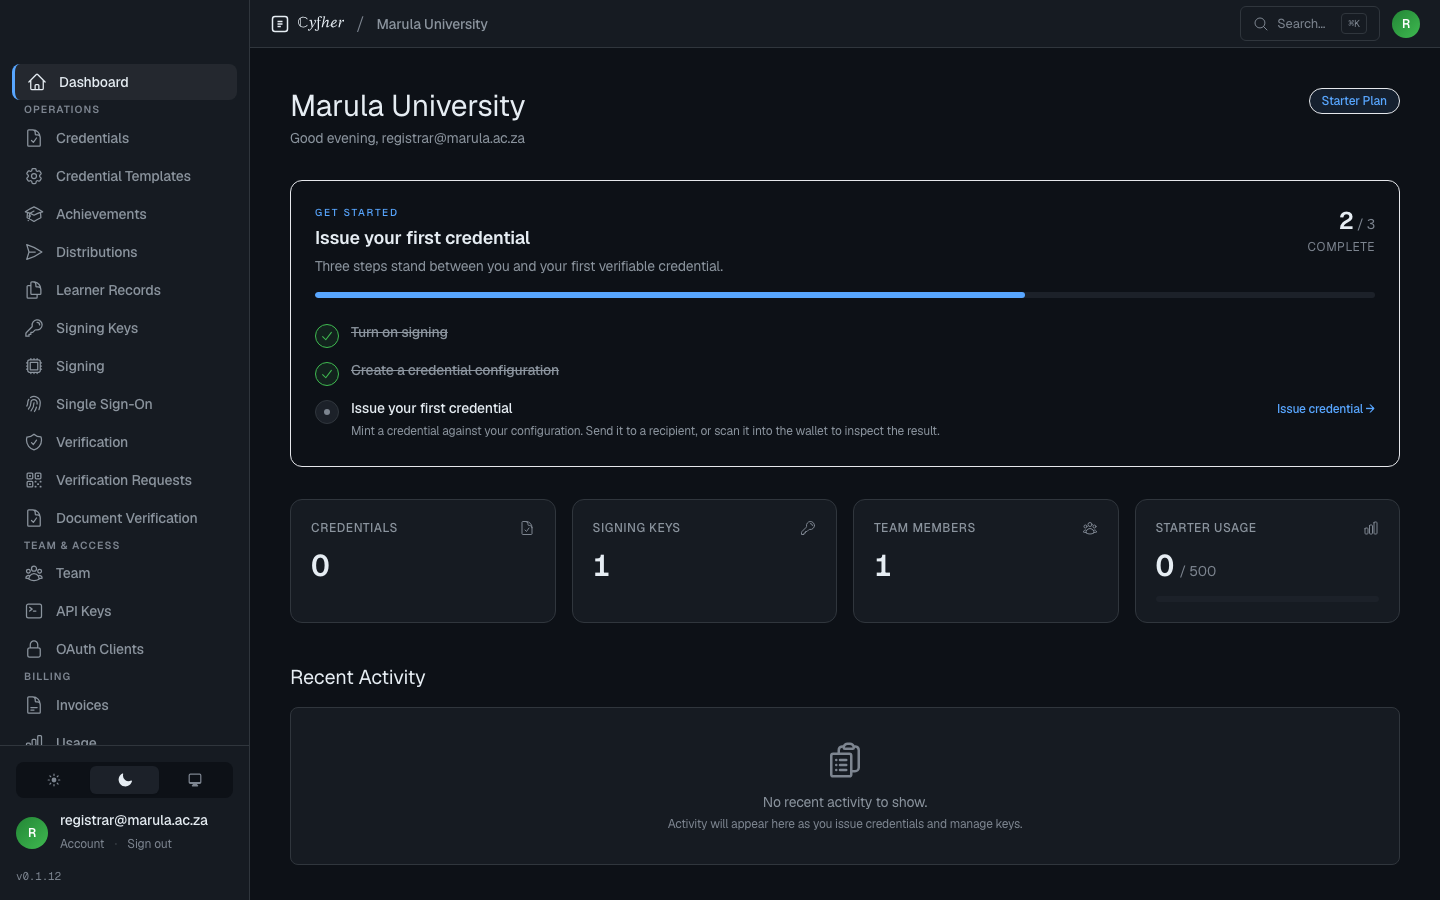
You arrive on the portal dashboard. Before you can issue your first credential you need to:
- Turn on signing — see Configuring a signer. The recommended Cyfher-managed option needs no configuration.
- Create a credential configuration — see Creating your first credential config.
The dashboard surfaces both of these as next steps until they’re done.